Scavenger Hunt

A couple of weeks ago, I participated in a “scavenger hunt” with the Sound Exposure Photo Club (of which I am a member). I thought I’d post about this event to give readers a break from my series about my trip to the Southwest.
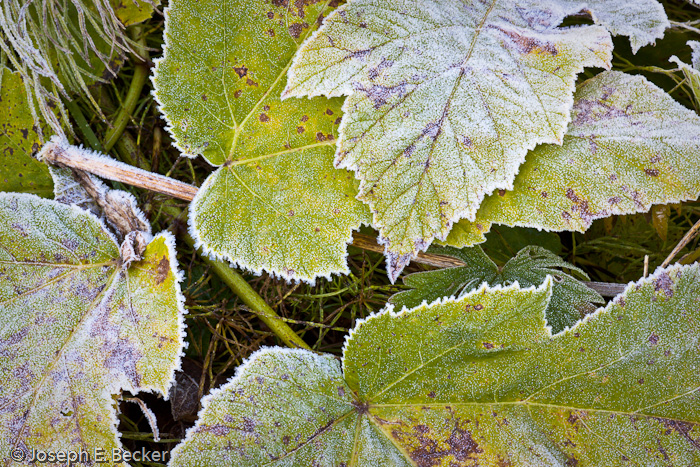
Photographers participating in the scavenger hunt receive a list of 20 items or themes and must take photos of each within a four-hour window. This is an annual event with Sound Exposure. Themes on the list sometimes leave a bit of interpretation to the photographer. Included on the list this year were: texture, color, near and far, close up, symmetry, and abstract. This year’s event was held at Uptown Center in Gig Harbor, Washington.
Uptown Center is a shopping center; and to tell the truth, when I first heard that was the location of the scavenger hunt this year, I wasn’t overly excited. I felt a shopping center wouldn’t have a lot to get my creative juices flowing. However, it actually wasn’t a bad spot to have the event; and once I started looking around with the list in hand, I got into the swing of it.
You can shoot as many images as you want for the event, but only turn in one per theme. Only jpegs could be turned in. I set my camera to RAW+jpeg, and turned in the jpegs. The photos accompanying this post are the RAW versions processed in Lightroom similar to how the camera processed the jpegs (as I stated before in a previous post, I think I can do a better job of processing than the camera does; however, if shown here as black and white or sepia, the jpeg was as well).
The club will show the images taken at the scavenger hunt at our next club meeting (in November). Members attending will vote on which images they like best, taking into account what theme the image are suppose to represent. Each participating photographers votes are counted, and winners announced in December. How well do you think I represented the themes on these accompanying photographs? Would you vote for them?
Scenes from the San Juans
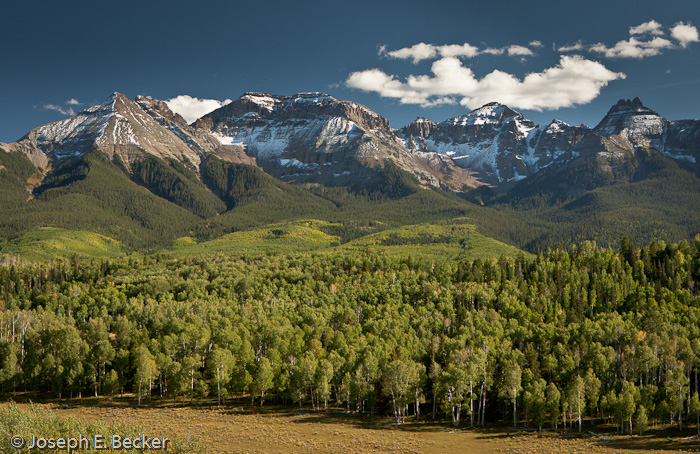
 On our recent trip, Tanya and I spent a couple of days camping outside Ouray, Colorado in the San Juan Mountains. I had hoped that being there in late September would result in nice fall colors in the aspens. That was not the case; it seems fall colors are late this year (I’ll need to remember this for future La Nina years, and next year appears to be another).
While I didn’t get the good fall colors I had hoped for, I did have fun shooting the area. With only two days, my photography was limited to a couple of areas: along the “Million Dollar Highway” between Ouray and Silverton and along State Highway 62 (and south of it along various county roads) between Ridgway and Dallas Divide. The photos here were all taken in these areas. Enjoy, and feel free to tell my what you think.
Deep Dark Canyon

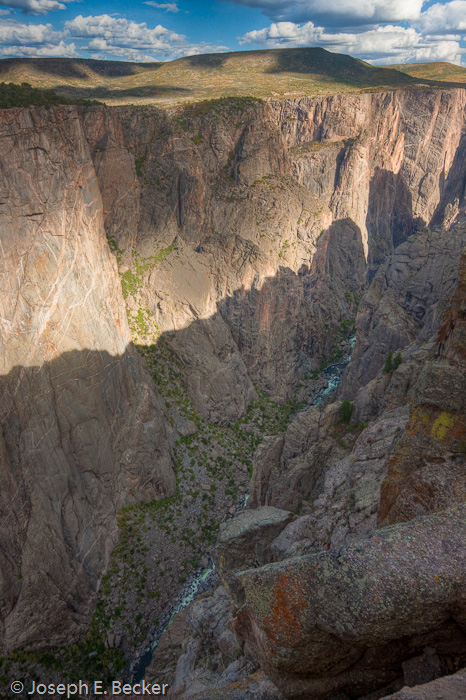
One stop Tanya and I made on our trip last month was the Black Canyon of the Gunnison National Park in Colorado. This is an amazing place. At its deepest, the Black Canyon is 2,722 feet (829 meters) deep. At its narrowest, it is 1,100 feet (335 meters) wide. It is so deep and so narrow, that little sunlight reaches the bottom. No wonder it is called Black. Of course, this presents great difficulties in photographing it.
Our original plan was to spend a night at the campground at the park. So I spent a lot of time studying various viewpoints and sunlight times and angles (using the Photographer’s Ephemeris, which is a really great program by the way, and free for desktop or laptop use) for early morning and late afternoon of our projected days at the park. As is turned out, we only made a short stop there, maybe two or three hours in the brutal, mid-afternoon sun. Not the best conditions for photography. The range of contrast was huge – puffy white clouds to dark, canyon shadows. The rock making up the canyon is mostly dark; that didn’t help. And several of the viewpoints we visited looked westward, toward the sun. Ouch! Could conditions be worse?
What’s a photographer to do? HDR of course. (For those of you who don’t know, HDR stands for high dynamic range. HDR photography works by shooting the same scene several times with different exposures and combining them together in a computer.) I occasionally shoot with HDR in mind, and this was one of those occasions. All the images presented in this blog are HDR images.
For those who care about such things, my typical HDR workflow is thus: 1) shoot three shots (or more if needed) in RAW using the autobracket feature on my DSLR (tripod mounted of course), 2) upload into Adobe Lightroom, 3) in Lightroom, on one of the shots, set the white balance and correct for chromatic aberration, then copy those settings to the other shots in the set, 4) export to Photomatix Pro using the Details Enhancer for tone mapping , 5) save the new HDR image and import into Lightroom, 6) go through my normal Lightroom workflow I normally use for RAW photos, and 7) give finishing touches (if needed) in Photoshop. The images here have been through steps 1-6. When shooting the original images, I check the histogram to make sure the set of images includes at least one image with the histogram not pegged up against the right side and at least one image with the histogram not pegged up against the left side.
Normally, I don’t use HDR if I can preserve the entire dynamic range with my regular workflow. Two of the images presented here that I was able to use my non-HDR workflow. However, I ran them through my HDR workflow to see how they looked and thought they looked better with HDR.
I’m not a fan of that over-processed HDR look that is popular with some. I like my HDR images to look life-like. A couple of these push that envelope, particularly the one with the Painted Wall below. What do you think? Are any of them overdone?
Love/Hate Relationship
 During my recent southwest road trip, I took lots of good photos. Unfortunately, I took lots of bad photos too. And lots of mediocre photos. And lots of duplicates. In other words, I have a lot of editing to do. If I calculate it correctly, I tripped the shutter button 3,852 times over the 18 days on the road. Considering I didn’t take any photos on the first or last days, that averages out to almost 240 photos per day.
 This is what I love about digital photography – you can take a lot of pictures. This is what I hate about digital photography – you can take a lot of pictures. Digital cameras give you the freedom to experiment. They give you the freedom to bracket. You can bracket exposures, apertures, compositions, etc. Of course, you could do this with film, but it got to be real expensive.
I confess, I am a bracketer (is that even a word?), and truth be told, probably an over-bracketer. This is especially true when traveling on a trip like this one. I went some places where I will likely never visit again. And I wanted to make sure I got the shot right. So, I bracket. I basically bracket exposures, using the auto-bracket feature on my camera. But often I also bracket apertures. And I usually bracket compositions. And, of course, with each change in composition, I bracket exposures again – and on it goes. I end up burning a lot of pixels. I love this ability to take lots of images, so that I get the perfect one.
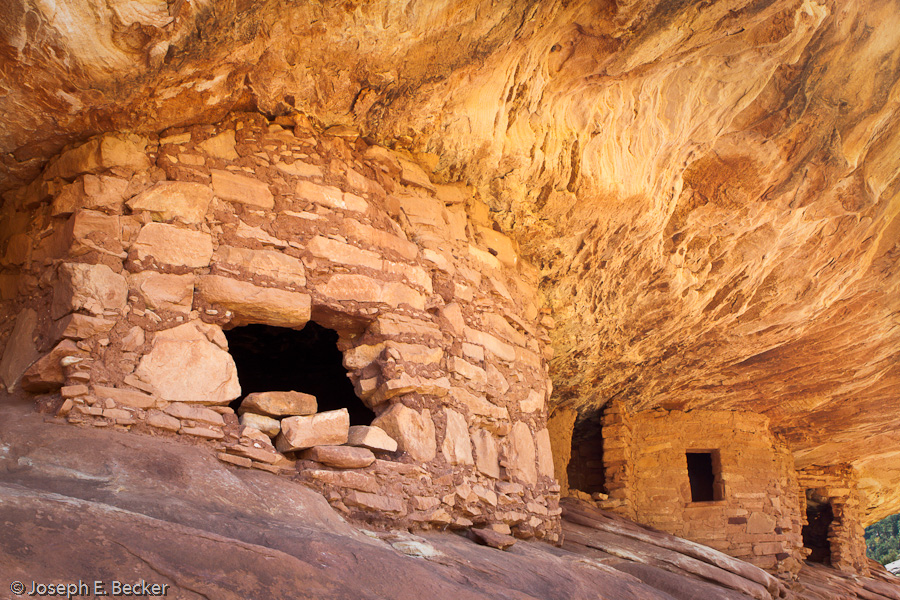
Formerly, when I shot film, I was much more selective; and though I did sometimes bracket, never to the extent I do now. For example, the images accompanying this blog are of the House on Fire ruin in Mule Canyon, Utah. If I was still shooting slide film, I might have taken 10 or 20 shots at this site, knowing I was unlikely to come back for many years if ever. This trip, I took 126 images at this location. I love being able to do that.
Now comes the hate part – I must edit those 126 images from the House on Fire ruin. And I must edit those 3,852 images from the entire trip. This will take a lot of time. And I usually fall behind in my editing; for example, I still have images from last May that should be edited.
Besides time-consuming, editing is aggravating in deciding which image is better. Is this one better than that one? Is the focus slightly better in this one? Did this slight change in composition make a difference; is it noticeable; is it better, worse, or the same? It reminds me of an episode of the The Bob Newhart Show, which ran in the 1970s. (I suppose I dated myself with this comment, but I really loved that show.) In this particular episode, Emily Hartley (Newhart’s wife on the show) describes to Bob how she hates going to the eye doctor – not because it hurts, but because there’s too much pressure deciding if the letters on the vision chart are clearer with lens one or lens two. The doctor presses for an answer over and over, lens one or lens two. In my case, I’m pressing myself over and over, image one or image two (or three or four…)
The ability to take thousands of photos with a digital camera has made some of us photographers sloppy. There are those who say digital cameras have made photographers sloppy in that they take shortcuts because an image can always be fixed in Photoshop. I don’t mean that kind of sloppiness; I always try to take the highest quality image I can to limit post-processing. By sloppy, I mean not being selective of the images we take. I am guilty of this with my over-bracketing. But my over-bracketing is a response to a desire to take the highest quality image to start with; it’s an attempt not to be sloppy and leave it to Photoshop to fix! In fact, I often will not take an image, even though it may have a worthy subject, if the light is not very good – you cannot fix bad light in Photoshop! Even so, I end up with way too many images.
I guess, in the end, there are no shortcuts to doing the work of photography. Either you have to take the time to think about the best exposure and composition in the field or take the time editing in the office. The work must be done one way or the other. However, thinking in the field is a quicker and less painless process (as long as you trust yourself to do it right) than editing endless numbers of very similar images. High time for me to think more, trust myself more, and shoot less. Perhaps editing these 3,852 images will help me to finally learn that lesson.
Home Again

My Great American Road Trip is over. After traveling just over 4,100 miles (6,600 km) and driving through seven states, Tanya and I arrived home to Tacoma Monday night. I had hoped to post sooner after coming home, but have experienced computer difficulties (remember the days when photographers didn’t care about computers?) My storage device, which holds most of the photos of the trip, has only allowed me to download the first several days worth of images. (I’m hoping and praying it I don’t lose the rest!) Consequently, this blog isn’t exactly the one I had planned for my return, but it will have to do for now.
So while I’ve been frustrated (with my computer equipment) since coming back home, the trip itself was wonderful. The weather couldn’t have been better (well, that’s not totally true, but then when has a photographer ever been satisfied with the weather; it can always be better). We generally had highs in the 80s F (high 20s C) and lows in the 50s (10-15 C). No rain at all, at least until we got back to Washington. Though there were some totally blue skies, most skies provided at least a few clouds to break up the blues (like I complained about in August). Only one day did clouds obscure good, late afternoon light. And we got to experience a lot of the American West.
I thought it fitting that since we drove westward to come home and end our trip, I post a sunset shot to illustrate this brief blog. This particular sunset is from Dinosaur National Monument in Utah.


