Perspective on Reality

 I recently read a blog post by Tim Grey on photographic perspective. In it, Tim Grey asks his readers:
“Is it ever ‘wrong’ to present an image as ‘real’ if we’ve used a bit of perspective to create a scene that isn’t exactly representative of reality? Creating tricks of perspective can be done very easily by changing your position relative to the subject or changing lenses on the camera. Is that wrong? “
In response, I commented:
“I don’t believe it is wrong to present something as ‘real’ just because of the perspective. Perspective has been an important part of photography as long there has been cameras. Am I suppose to label every image taken with a telephoto lens as ‘this image may not represent reality as you experience it if you visit this location?’
I love taking telephoto shots of Mount Rainier, such as the one shown here [my original response included a link to the the image shown below]. When showing images like this, many people comment on how it can’t be “real”, the mountain is not that close. But this is what the camera sees. It’s the same as the human eye sees at the same location, it’s just that the human eye also takes in a much broader view, so the isolate perspective is not realized. If you use binoculars from the same vantage point, you would get essentially the same view. Is the view from binoculars not ‘real’?”
I thought I’d explore this a bit further in this post. The image above and the image below, both of which show Mount Rainier, but with differing perspectives, where both taken from the spot just 4 minutes apart. The one above (which is actually a HDR image with 3 exposures) was captured with a setting of 24 mm (38 mm equivalent) on my 24-70 mm lens, and thus represents slight wide-angle view. The one below was taken with a setting of 175 mm (280 mm equivalent) on my 70 to 200 mm lens, and represents a telephoto view.
It’s images like the one below that get comments about not being real (I’ve been asked more than once if I’ve photoshopped the mountain in). It is easily shown that the image below is real, with no Photoshop trickery (at least if you believe the upper photo is “real”). If I crop the upper photo to the same field of view as the second photo (as shown in the third photo), the compressional distortion is the same, and the photos look very similar (except of course for the quality on the extremely cropped version). FYI – the pier in front of the buildings on the photo below is Les Davis Pier, featured in my last post on night photography.
I love to play with perspective distortion in my images, using various focal lengths and camera to subject distances to expand (with wide-angle shots) or compress (with telephoto shots). There is a good explanation of the phenomena on Wikipedia.
Since Tim Grey inspired this post, I might as well put in a plug for him. Tim teaches about digital photography and imaging. He provides an excellent, free daily email service that provides answers to digital photography questions – often involving processing with Photoshop or Lightroom. I’ve gotten is daily email for years, and can highly recommend it.
Night Moves – Correct Exposure for Night Photography
“Workin’ on mysteries without any clues, Workin’ on our night moves” -Bob Seger, Night Moves
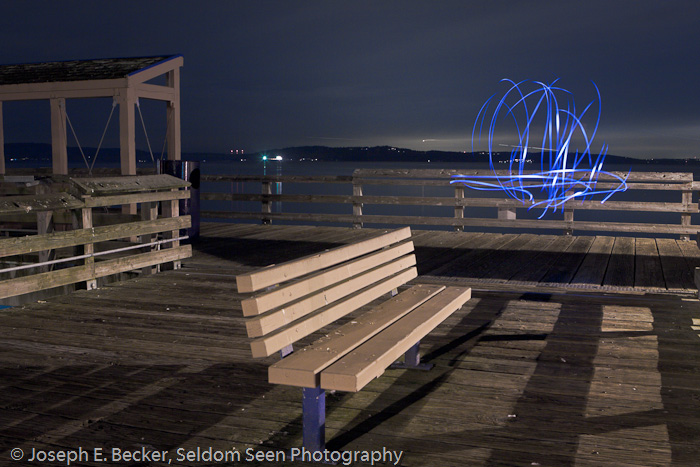
Last Tuesday, I spent a few hours working on some night photography down on the Ruston Way waterfront with a small group from the Mountaineers. We got quite a few questions about what we were doing down there with cameras and tripods at night. I guess we should have told them we were working on our night moves. But unlike the Bob Seger song, we were working in winter instead of summer. Winter is a great time for night photography because the night comes early, and you can still get home at a decent hour. Of course, it has disadvantages too, like the weather. Though not extremely cold, only about 40° F (about 4° C), it does get chilly standing around waiting on those long exposures.
I’m really starting to enjoy doing night photography. The camera picks up lots of color and detail that the eye cannot see. I recently read Night Photography, Finding Your Way in the Dark by Lance Keimig, and I have a long way to go before ever approaching his abilities. But I have fun. I highly recommend Keimig’s book to anyone wanting to learn more about night photography, it has lots of good information.
One of the great mysteries of night photography is getting the correct exposure without excessive noise. Digital noise is the bane of many a night photographer. Noise increases with long exposures, high ISOs, and underexposed shots. That’s why, with night photography, you should still use low ISOs and exposure for the right side of the histogram (while not allowing any important highlight to be blown out). Shooting this way, will help minimize noise, but will lead to long (or very long) exposure times, very often over 30 seconds (the longest programmed shutter speed on most cameras). Therefore, to get the correct exposure, you will often be shooting in manual mode with the shutter speed set to bulb. Knowing how long to leave the shutter open is a difficult question. It’s a real pain to wait through a 2-minute exposure only to discover when looking at the results that it should have been a 4- or 8-minute exposure.
Here’s one tip I found very useful from Keimig’s book. Set the camera to a very high ISO and take a test shot first. This can be used to check both composition (it’s sometimes hard to compose through the viewfinder in the dark) and exposure. To make the exposure math easy, Keimig presents a chart in his book and on his Nightskye website. Basically, for cameras with a native ISO of 100 (Canon cameras for example), set the ISO to 6,400 and take one or more test shots to find the correct exposure. The number of seconds in the correct exposure at ISO 6,400, is the number of minutes for the correct exposure at ISO 100. For cameras with a native ISO of 200 (like most Nikons), the test shot ISO should be set to 12,800 and the normal shot ISO at 200. (If your camera doesn’t have such high settings, his chart shows how to compensate). For example, I use a Canon camera. So for the featured photo above, I took a test shot at ISO 6,400 and found the correct exposure was 4 seconds. I switched the camera to ISO 100 and re-shot with an exposure of 4 minutes (in both cases, of course, using the same aperture, f/8 in this case). Much easier than guessing on the correct exposure.
Thanks to Lance Keimig, I’ve solved one the mysteries of my night moves!
Gray Day at Grayland
 Bad weather can often make for good photographs, or so I’ve often read. However, sometimes bad weather is just bad. Such was the case last Wednesday. I scheduled the day off from my day job to do some photography. Wednesday morning didn’t look too bad when I got up, but by the time Tanya and I had the dog and cameras packed up in the car it was raining. Remembering that bad weather sometimes makes for good photography, I wasn’t too worried about coming home skunked.
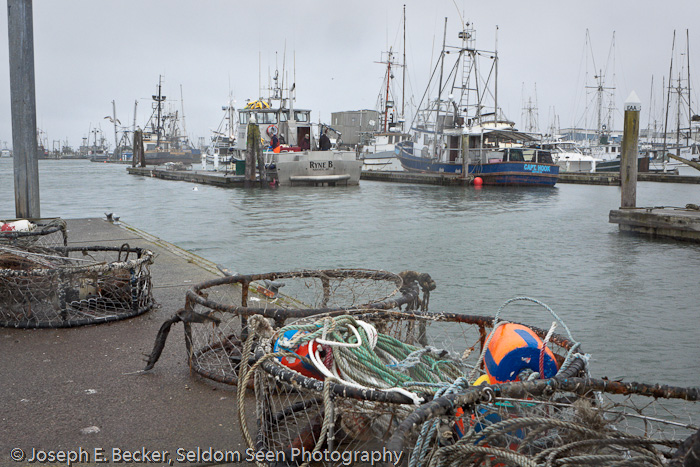
We drove south and west to go the beach at Westport and Grayland. Though the sun started peeking through the clouds early in the drive, by the time we reached Aberdeen, there was a constant mist falling and the sky was a blank, gray sheet. We stopped at the Johns River Wildlife Area to let the dog out. Luckily, the mist had stopped falling, and I was able to take a few photos. After an hour or so, we continued on to Westport. We drove down to the marina, and the mist started up again, now accompanied by wind. I walked a bit on the docks, but took few pictures – it was pretty miserable out.
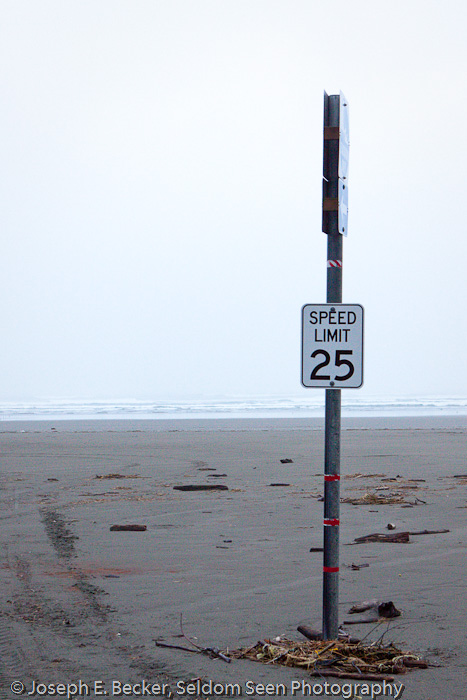
We then drove over to the beach by the jetty, and the mist let up again. However, the sky was still a blank slate and the wind was strong. We walked on the beach some, and I took a few more photos. Normally in situations like this, where the sky is so lifeless in photos, I try to concentrate more on taking detail shots – like of beach rocks, patterns in the sand, etc. However, the wind was causing me problems, shaking the tripod. And the clouds were so thick, it was dark, requiring long shutter speeds.
Later we drove down to Tokeland and then back up to Grayland for another walk on the beach, this time back in the mist. We ended the day having a picnic dinner, with a bottle of red from the Westport Winery, in the car facing the waves of the Pacific. There was no sunset, just a slow fading of what little light there was.
Overall, it was a great day. How can being on the beach with wife and dog not be? Just not a good day for photography.


